

Just look at the moisture that is in this white meat of our turkey!!!
Read on to learn how you can do this and how to carve your Thanksgiving turkey.
“ Oven temperature and time turkey placed in oven ”

“ Oven temperature and time turkey removed from oven”

Let us know how your turkey turns out. We want to know and will share with all -- no names unless you say it's OK.
I can't tell you how many times I have heard, "You know my Thanksgiving turkey was good but the white meat was dry as usual. That's just the way it is." It doesn't have to be that way.
I have been cooking our Thanksgiving turkey for more than 25 years and both family and friends always comment, how moist it is. And then they ask, "what do you do?"
The answer is simple. I simply ask them a question. At what temperature does water boil? I usually get that look like I can't remember my science class that many years ago. We laugh and then I proceed to remind them that water boils at 212°F. So why cook your turkey in a 350°F oven and boil or bake all the water (juice) out of it?
So, then I explain that I always cook our turkey in a 225 - 250°F oven. And It is covered during the whole time.
Now, I am sure you are going to be concerned that you need to cook at the higher temperature. But, I was taught in one of my many food safety classes that the temperatures between 40° - 140°F is considered the danger zone for food. Meaning that bacteria grow most rapidly within the temperature range. But, as long as the temperature continues to move up thru this range and gets to the 165°F internal temperature the poultry it should be safe. Like I said, I have been cooking this way for 25+ years.
Now, I realize the 225° - 250°F range is above the boiling point but trust me it will cook your turkey and will be the moistest turkey you ever had.
But, it will not be that golden brown that you may want for a pretty turkey for the center of the table. It may not be pretty but it will be delicious. I choose delicious "moist" turkey over "pretty" dried up turkey.
I started by removing the neck, giblets, the leg tie and I crossed the wings . I did not stuff it. I placed it in our large pan with the back up.

I did not brine this turkey but there are times that I do not. In fact, most of the time I do not. I have what I consider a good brine recipe at end of this write up.
And after I added about a cup of plain water to the pan, I covered the turkey with foil and made sure that the foil had a tight seal around the lip of the pan. Into the oven it went and some 4 hours and 40 minutes later I removed it from the over and note the internal temperature at the thigh -- 165°F. This fresh (thawed) 13.9 pound turkey was done. That's 20 - 21 minutes per pound.

So I set pan and turkey still covered with foil on the counter top and then covered the foiled pan with a couple of kitchen towels and let the covered turkey rest for 25 minutes. As we know, the turkey will continue to cook a little more and the juices will remain in the meat when we begin to cut it.
Yes, that is a beef thermometer. Won it at a beef cooking contest.
So, now that the cooked turkey has "rested", let's begin to carve it. Remember, I said it may not be a pretty center piece but it will be moist and delicious.

I placed paper towels under my cutting board to absorb any juice run off.
Next, I cut the leg off. And then started to cut down on one side of the breast bone to remove one side of the breast.

Note that the thigh meat is thoroughly cooked. Because it is, you can use your hand to push the thigh down and the hip joint will be visible so you can use your knife to finish separating the leg from the body.


I set the leg and the boneless breast off to the side and begin to remove the wing. By moving the wing back and forth you can see the joint that holds it to the body. Use your knife to cut thru this joint, separating the wing from the rest of the body. And now set the wing aside.

And now I cut the breast the thickness you want and place on your serving plate.

And now separate the thigh from the drumstick. You can find this joint by grabbing the thigh and the drumstick and move each. Now use your knife to cut thru this joint.

And now let's remove the bone from the thigh. You will need to use both your hands and you knife. Actually you will want to use more of your hands and less of the knife.
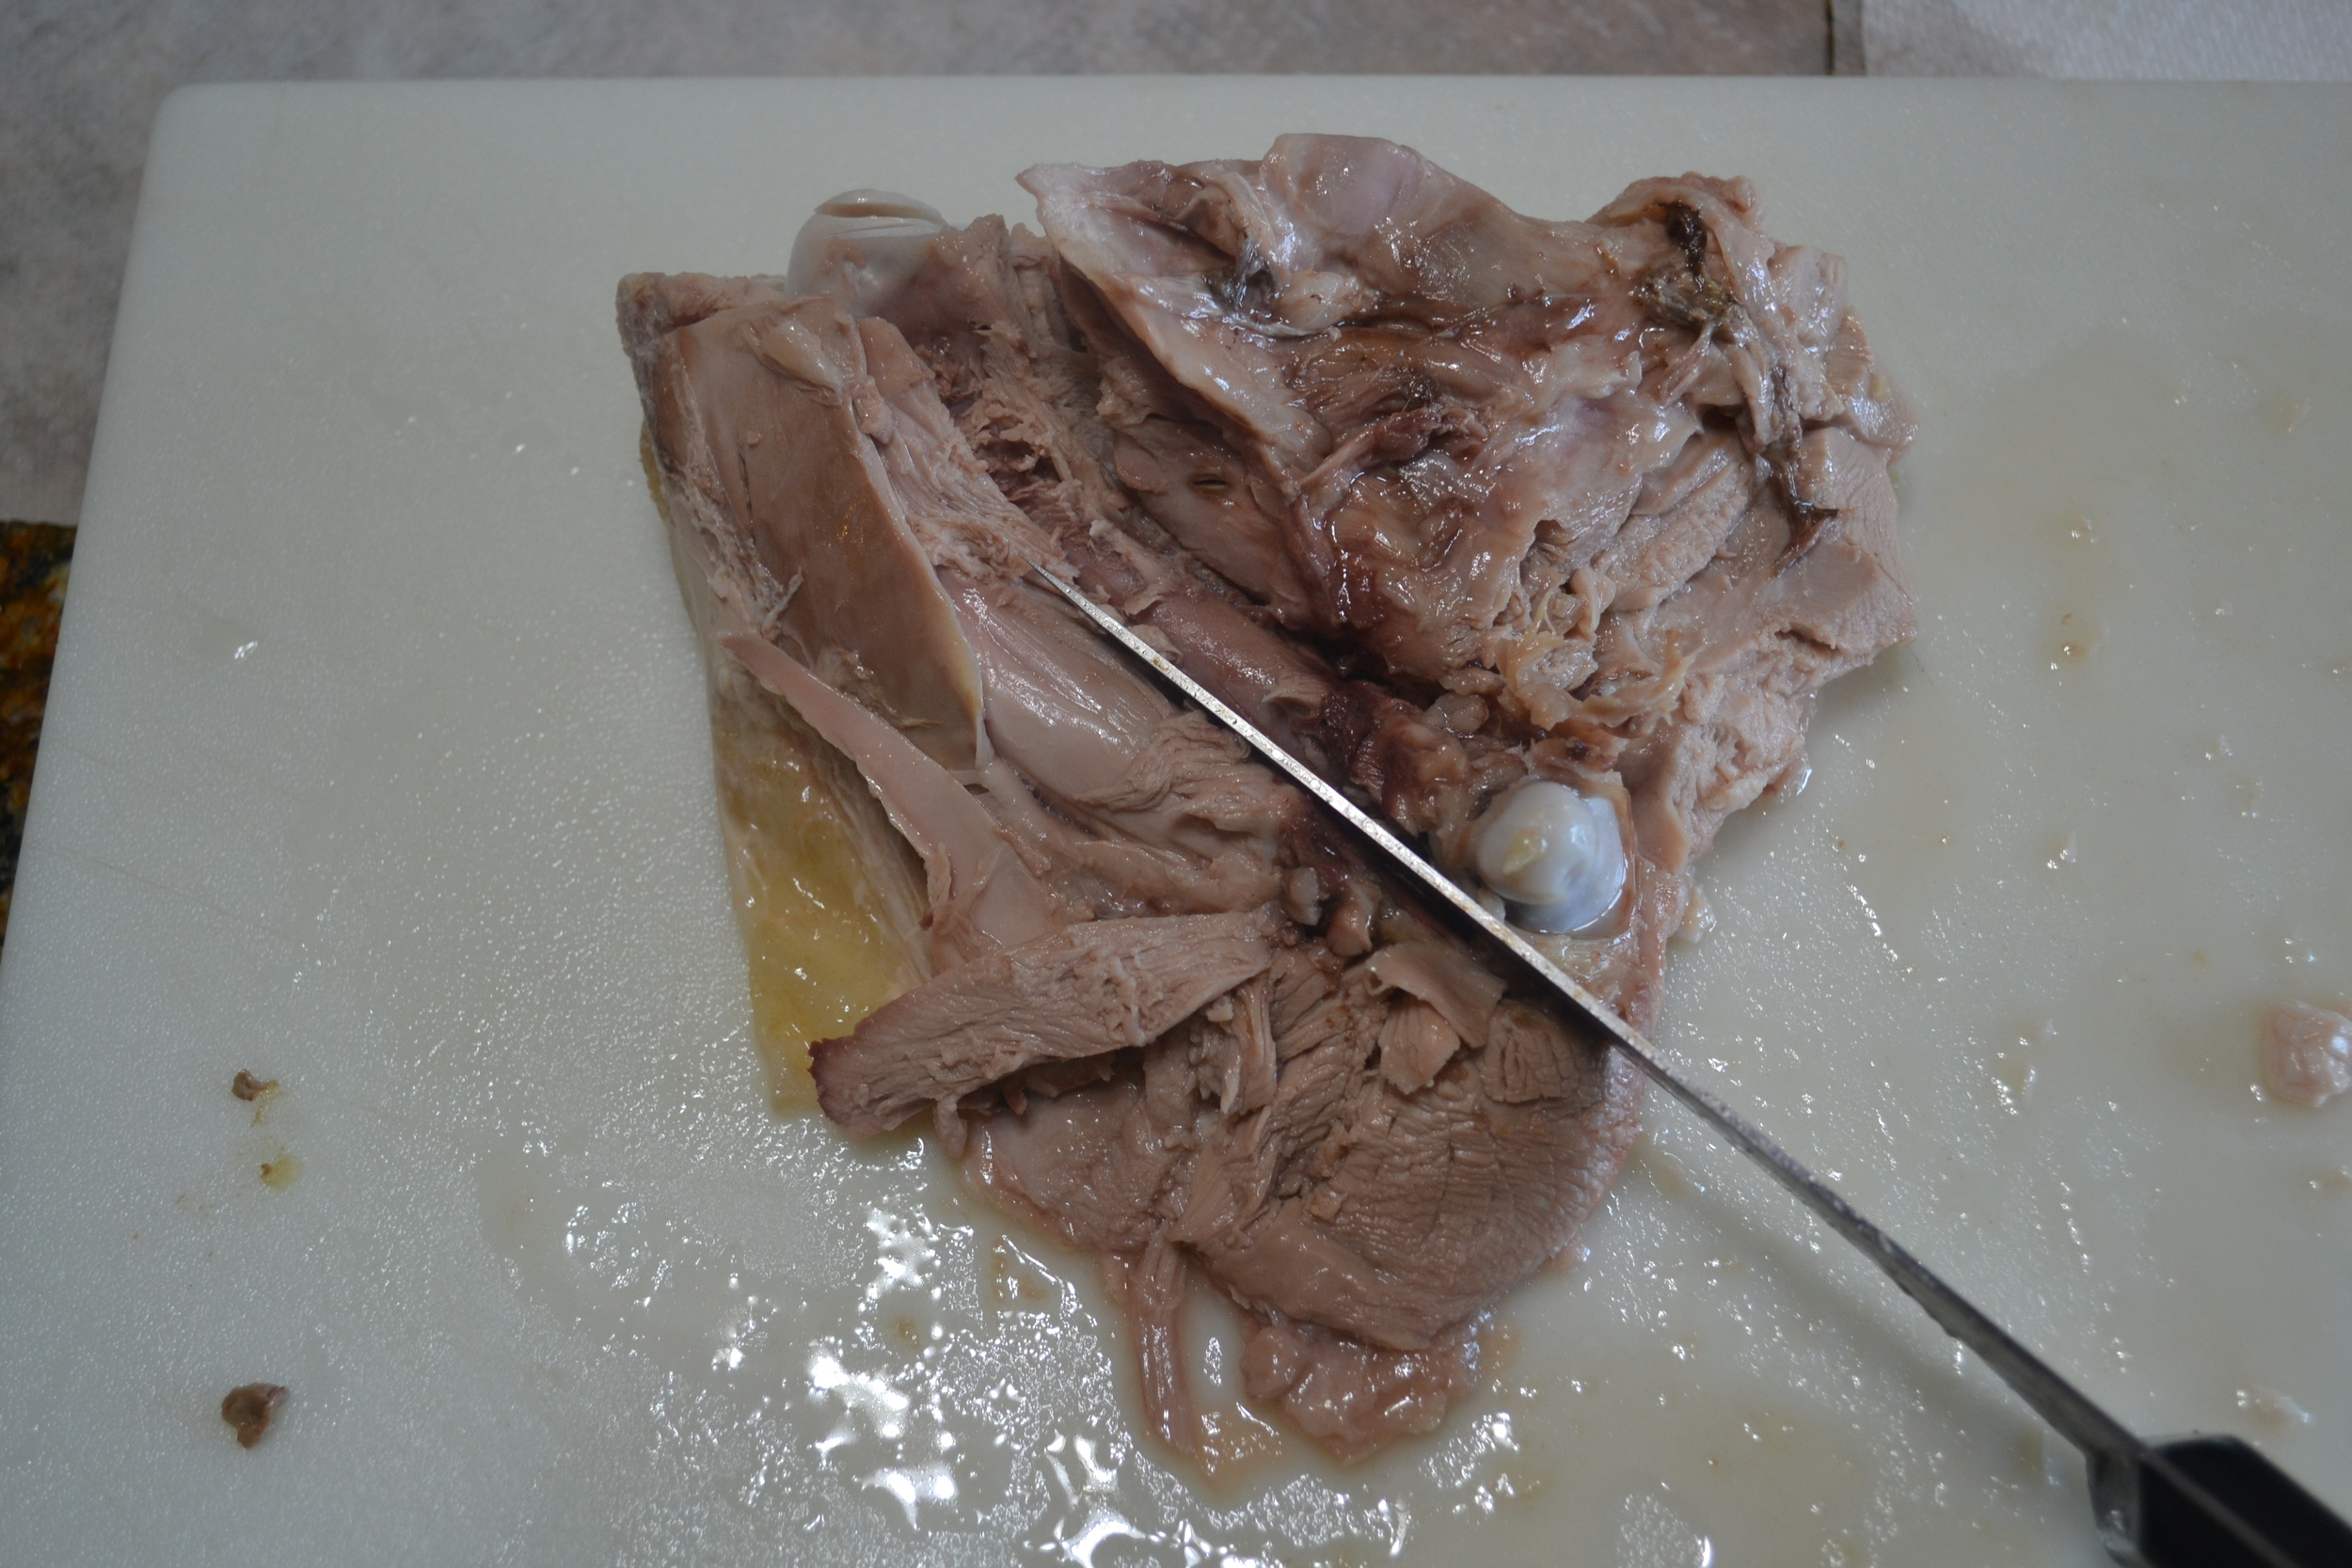
Next, let's remove the bones from the drumstick and wings. I will be honest with you, the best way to accomplish this is with your hands. The next few pictures, I use a knife to get started but then my recommendation is to use your hands to remove the meat from the bones and place the meat on your serving tray.


Remember there are several small "pin bones" in the drumstick and your hands and fingers are best to find and remove. I found 12 in this one drumstick.

The wing meat and bones.
And the serving plate for just half the turkey looked like this. I cut the other half the same way.

If you want, here is a pretty good brine that I have used. It is not too strong in flavor but enhances the good natural meat flavor and I like that.
2 gallon water
1 cup salt
.3 ounces black pepper (1 tablespoon)
.5 ounces garlic powder (1 1/2 tablespoon)
1/4 cup Worcester sauce
1/4 cup dark brown sugar
I mix all ingredients the night before so that it is all dissolved the next day when I place my turkey in the brine.
