

Wow, did this turn out better than expected. You know, it was one those things where you say to yourself, "yes, this will be good", but then when it is finished you are even surprised as to how delicious it really did turn out.
We are going to get started by boning out the whole bone in turkey breast. This is not all that difficult to bone out but you need to be careful as it becomes awkward to hold onto and remove the bones. However, you will have that sense of pride that you did it yourself. Not only that, you will know where everything from the meat to the spices came from. You control that and that should make you feel good.
I started with the whole bone in turkey breast as you see in the picture below.

I started removing the bones at the ribs and slowly cut my way to the breasts bone and then did the same to the other side. I ended up with the full boneless turkey breast as you can see in the picture below.

Take a few minutes and remove the blood spots and any little bone chips that you see or find by rubbing you hand over the meat.
And now this next part is not difficult but you need to be careful and not cut too far through the breast. We are going to butterfly the turkey breast by placing the knife as you see below and slicing only part way through the thick part of the breast.
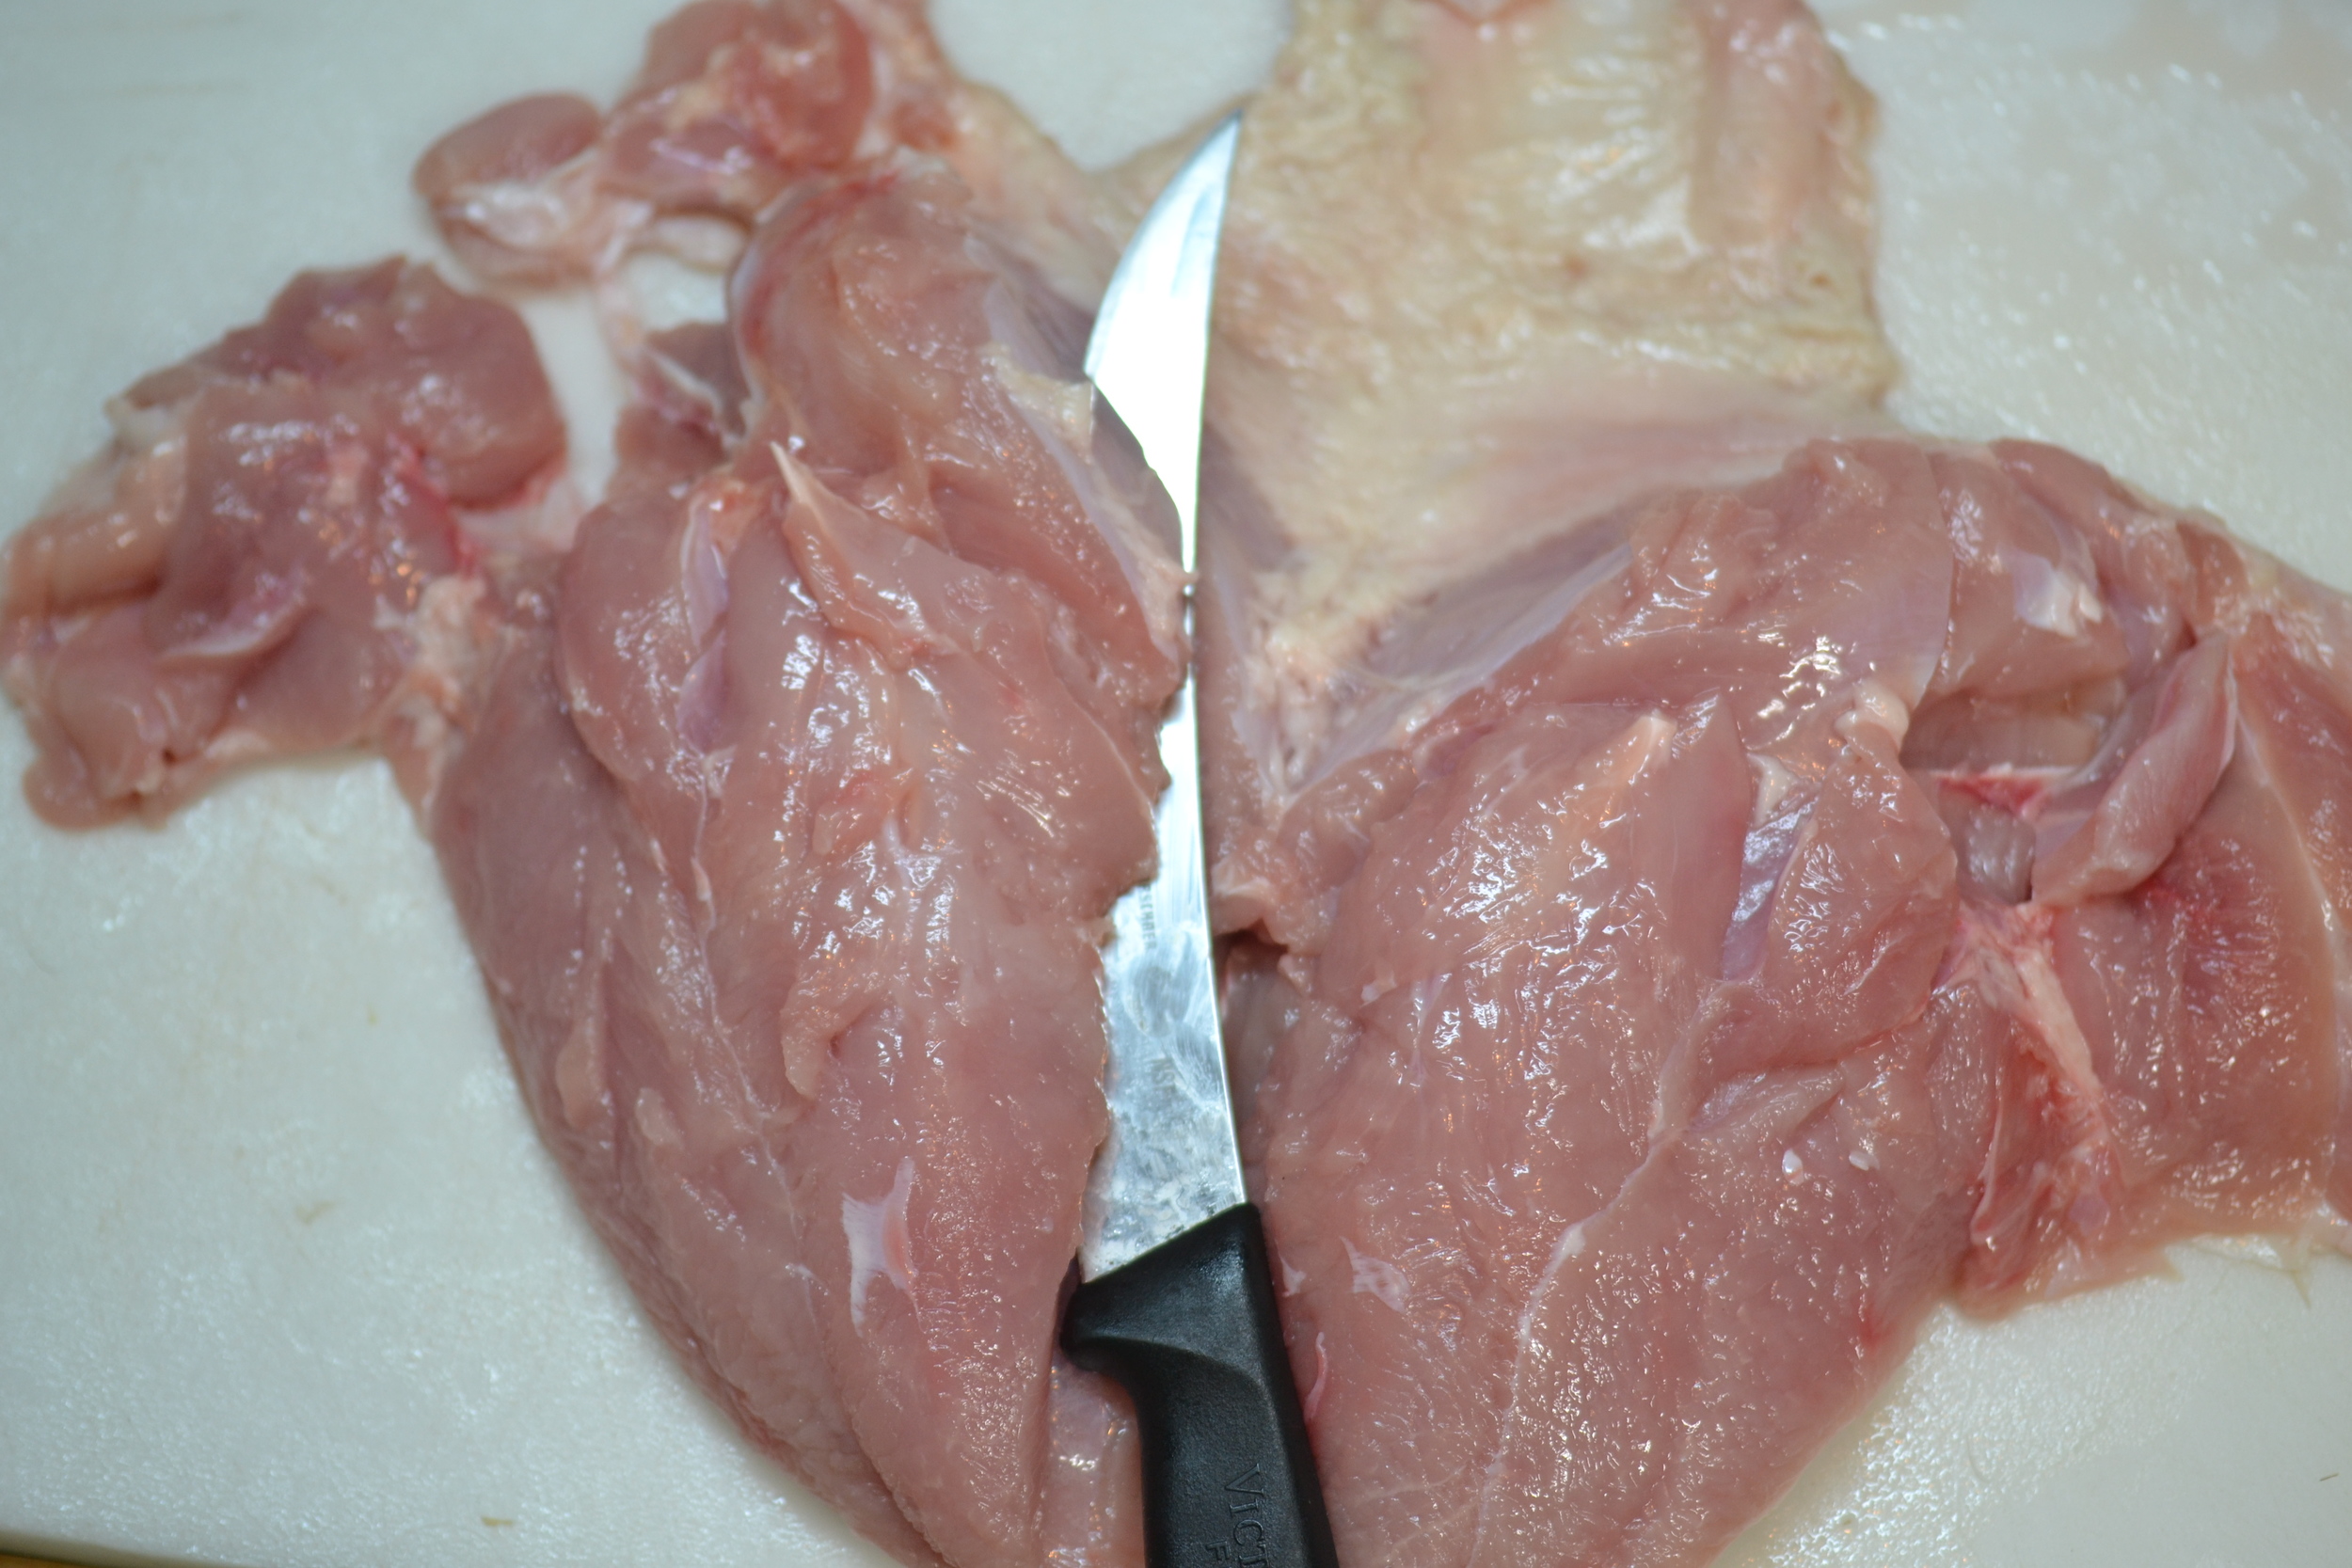
When you have butterflied both sides of the breast you will have almost doubled its size by making it thinner. It should look like the picture below.

And now we are ready to add our stuffing. We used an apple, onion, and cider stuffing. Look in our recipes for this delicious recipe. Below is a picture of what this would look like.

About a half inch layer of stuffing works out to be just about the right amount. But the best part was the several pats of butter that I added before I started rolling the meat and stuffing up into a pinwheel.


And now we continue to roll until we have a very nice looking pinwheel. You may lose a little stuffing out the sides as you roll, but you can take gently tuck it back where it belongs. And now you will want to start to tie it all together so that as it cooks it will stay in a nice uniform shape. The type of knot you use is not really that important, but you do want to make sure the string is snug and will not come untied. I like to tie the string end for end trying to keep the stuffing from falling out the ends. See picture below for finished product all tied up.

I cooked in a covered roaster at 250 degrees F for about 2 1/2 - 3 hours. Your oven may vary but remember your final internal temperature needs to be 165.
I like to cooking it low, slow and keeping it covered the meat is very, very juicy. And the butter didn't hurt either. Below is the final cooked product. Have fun, be proud of what you did and know you are eating what you made so you know what is in it.

